Facebook Login can be integrated in react native using react-native-fbsdk to provide login functionality to application users via their Facebook account
This can be used as an alternative to user registration, and also can be considered secure
Response from server contains an access token which can be used to send facebook graph api request to get user's public profile data and additional private data if permission was requested for it
Provided example uses LoginManager to initiate webview login, because of which facebook login button was imported from react-native-social-buttons
react-native-fbsdk also provides a LoginButton component which initiates the Facebook login dialog but there was an issue: its onLoginFinished callback was not getting called
https://github.com/facebook/react-native-fbsdk/issues/776
When using LoginButton, it changes to a logout button after login
import { LoginManager } from "react-native-fbsdk";
import { GraphRequest, GraphRequestManager } from 'react-native-fbsdk';
import { FacebookSocialButton } from "react-native-social-buttons"; async signIn() {
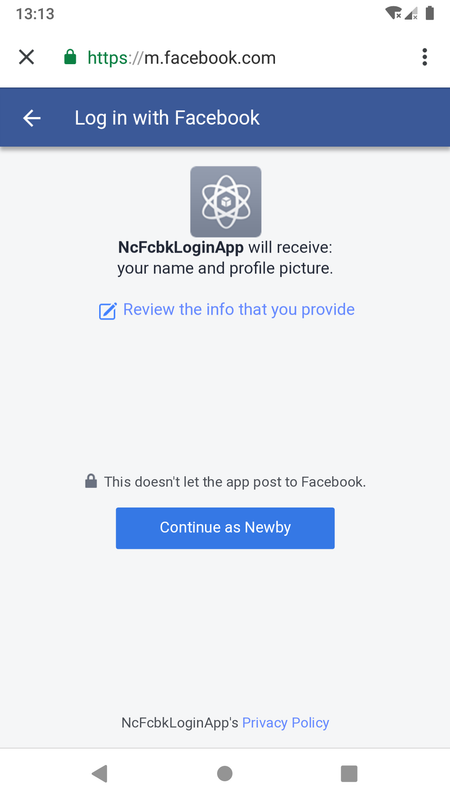
var result = await LoginManager.logInWithPermissions(["public_profile", "email"]);
if (result.isCancelled) {
console.log("Login cancelled");
} else {
// console.log("permissions granted : " + result.grantedPermissions.toString());
this.graphRequest();
}
}Graph request, sent after user logs in and grants permission, returns profile data of user
  _responseInfoCallback(error: ?Object, result: ?Object) {
    if (error) {
      console.log('Error fetching data: ' + error.toString());
    } else {
      this.setState({user: result, authenticated: true});
    }
  }

  async graphRequest() {
    // Create a graph request asking for user information with a callback to handle the response.
    const infoRequest = new GraphRequest(
      '/me?fields=name,picture,email',
      null,
      // a lambda is used due to the presence of 'this' keyword inside _responseInfoCallback
      // on using _responseInfoCallback (function name) instead of lambda, this.setState() becomes out of scope
      // alternatively try defining _responseInfoCallback inside graphRequest()
      (err, res) => {this._responseInfoCallback(err, res);}
    );
    // Start the graph request
    const response = await new GraphRequestManager().addRequest(infoRequest).start();
}Check React Native Installation for installation related info
Use react-native init command to create a new React Native project (here named NcFacebookLoginApp)
react-native init NcFacebookLoginAppThis creates a directory named NcFacebookLoginApp and initializes it as a react native application directory
This can be skipped in case an existing react native project is being integrated into
To use LoginManager, GraphRequest, add react-native-fbsdk to project
Go to project directory and run following yarn command to install the dependency
yarn add react-native-fbsdk react-native-social-buttons Or using npm
npm install react-native-fbsdk react-native-social-buttons --savereact-native-social-buttons is added for FacebookSocialButton
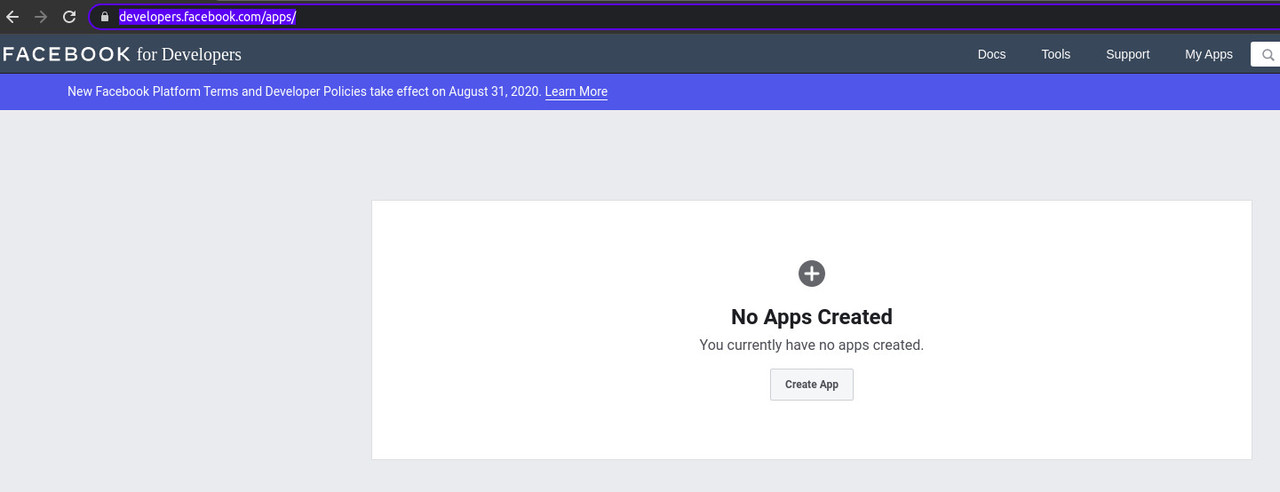
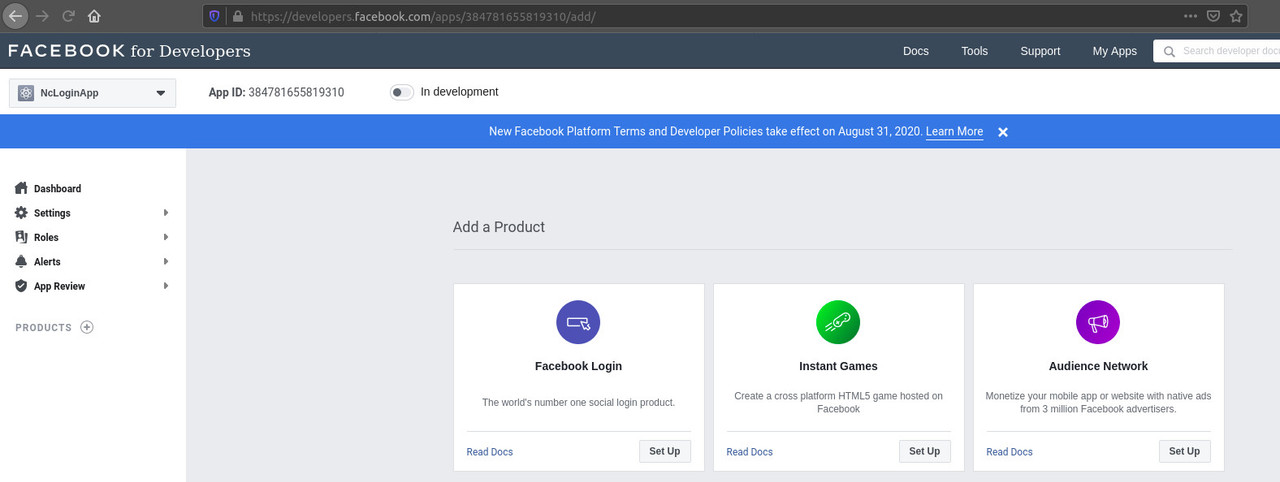
Login to https://developers.facebook.com/ and click on MyApps
Click on Create App
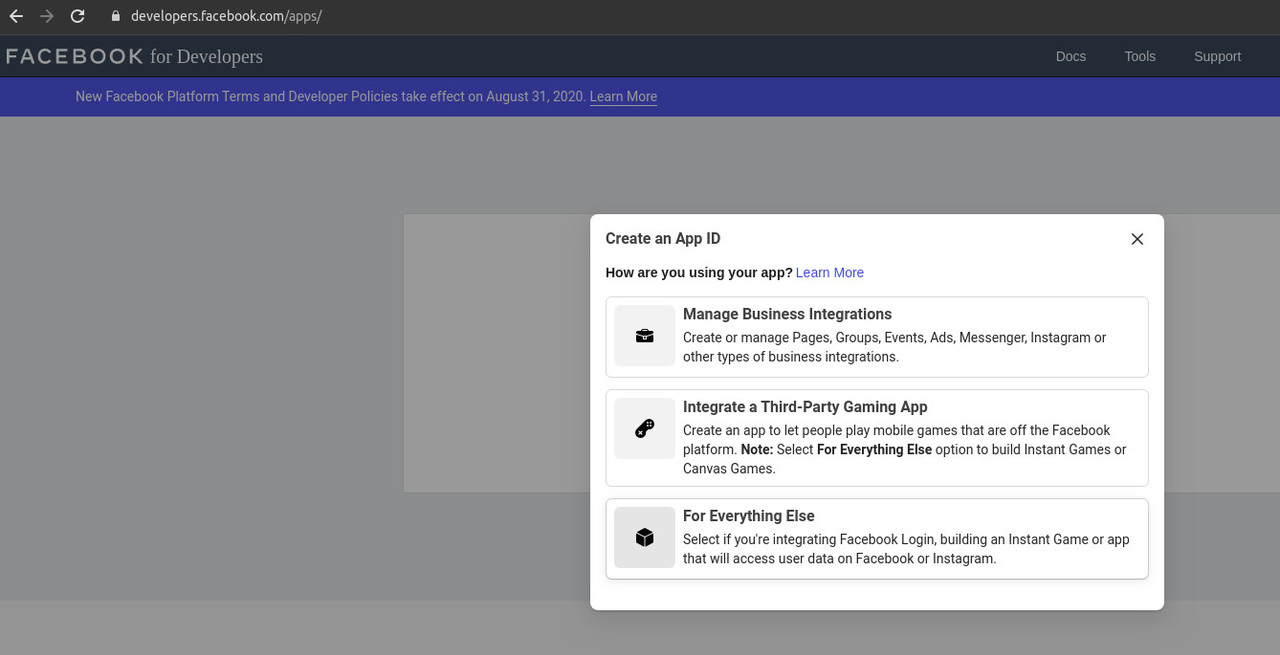
Select an option which mentions Facebook Login (option 3)
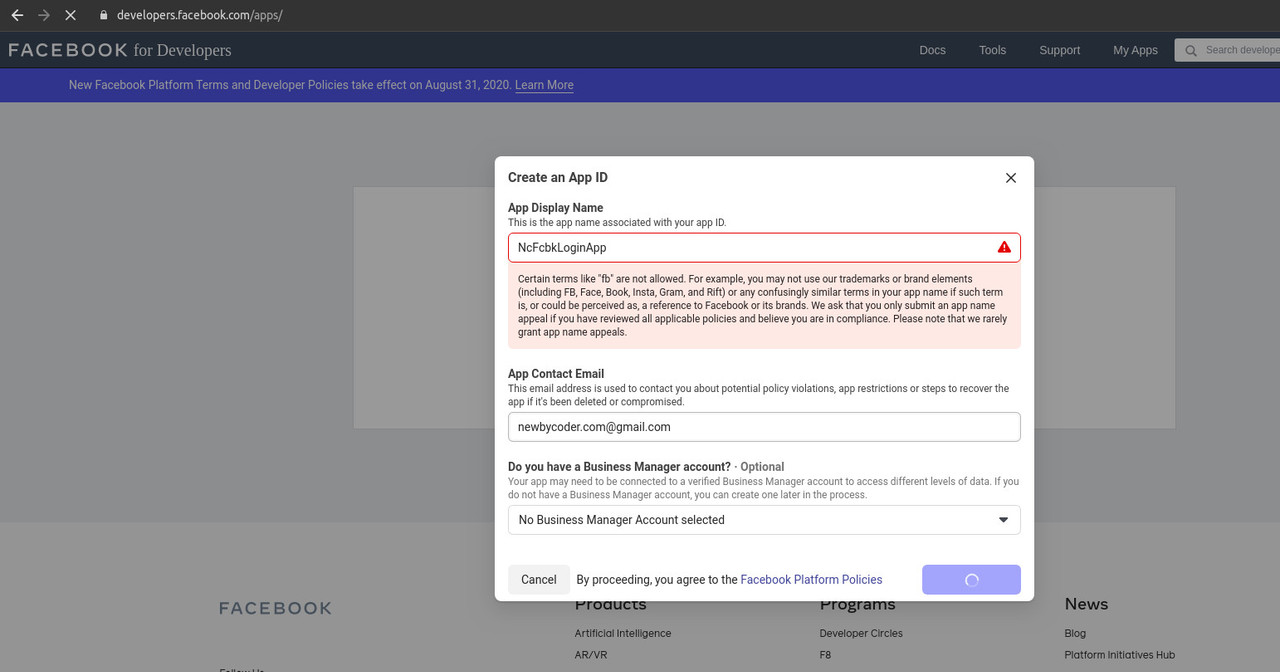
Enter app id which should not contain Facebook trademark or brand elements like fb, and click Create App ID
Go to Facebook application dashboard and click on Set up under Facebook Login and select Android platform
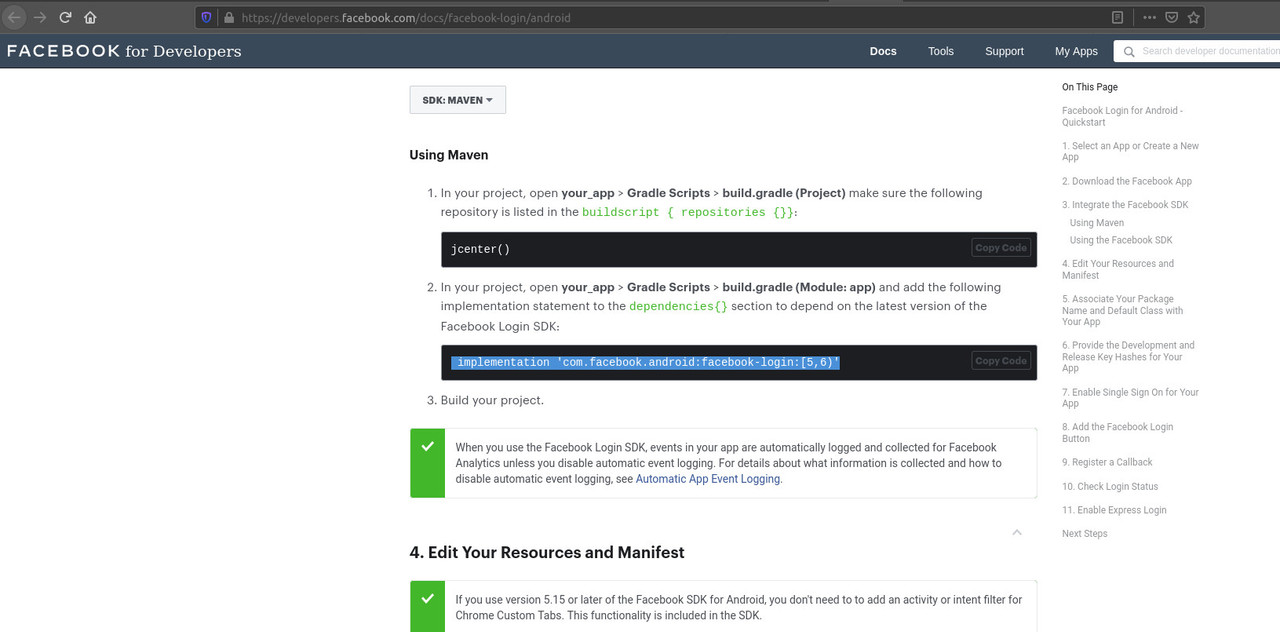
Alternatively, go to https://developers.facebook.com/docs/facebook-login/android and select app
Skip the step of downloading Facebook Sdk
To integrate sdk, edit build.gradle of android app and add provided dependency
dependencies {
    implementation fileTree(dir: "libs", include: ["*.jar"])
    //noinspection GradleDynamicVersion
    implementation "com.facebook.react:react-native:+"  // From node_modules
    implementation 'com.facebook.android:facebook-android-sdk:[5,6)'
Enter Package Name and Default Activity Class Name which is typically <package name>.MainActivity
Package name can be found in NcFacebookLoginApp(react native app name)/android/app/src/main/AndroidManifest.xml
Click on save
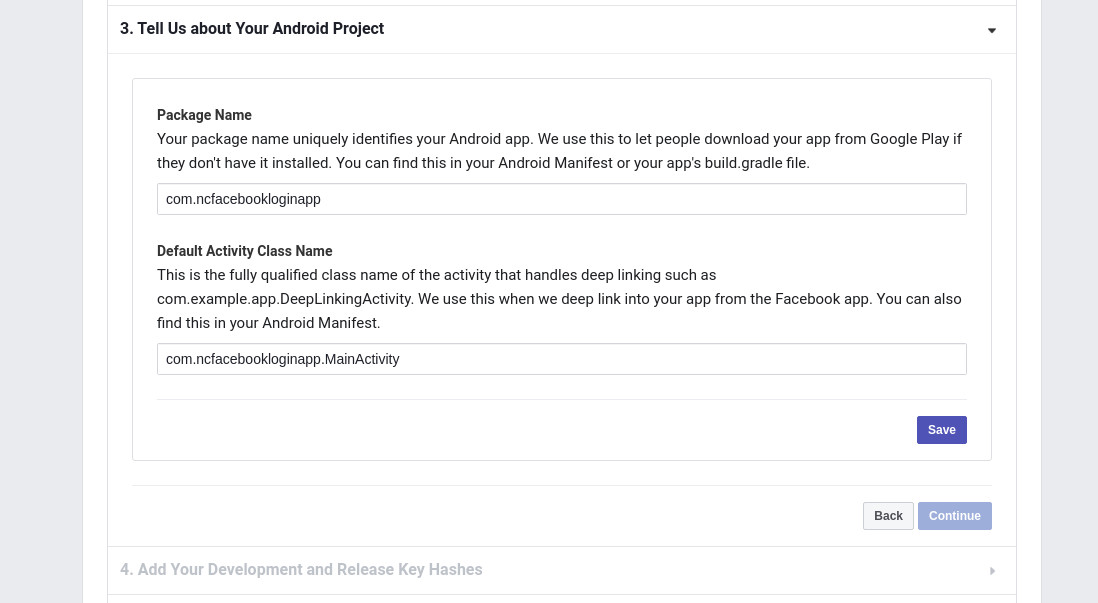
If a prompt is displayed mentioning problem verifying package name on Google Play, click on use this package name
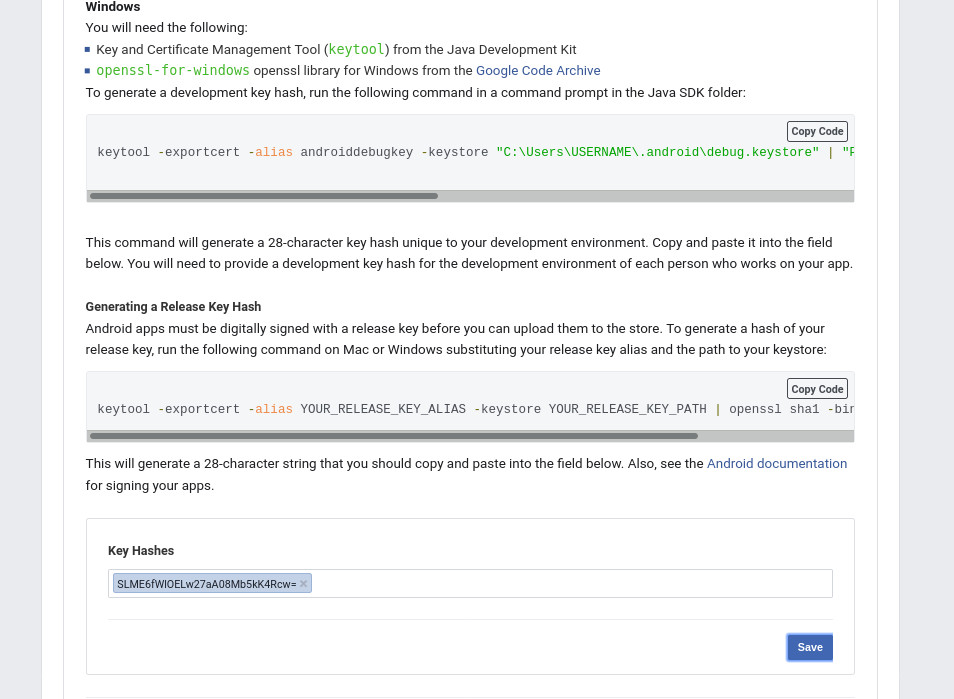
To add Development key hash, use the provided command
keytool -exportcert -alias androiddebugkey -keystore ~/.android/debug.keystore | openssl sha1 -binary | openssl base64This works in Linux, and returns a base64 value of sha1 hash
Paste it and click on Save
Enabling single sign on is optional
Next step is to add FacebookActivity in AndroidManifest and provided strings in strings.xml
Add provided xml strings to strings.xml
<resources>
    <string name="app_name">NcFcbkLoginApp</string>
    <string name="facebook_app_id">567309393944105</string>
    <string name="fb_login_protocol_scheme">fb567309393944105</string>
</resources>
app_name seemingly was not required to match react native or Facebook application name
Add provided metadata and activity in AndroidManifest before closing application tag (</application>)
<manifest xmlns:android="http://schemas.android.com/apk/res/android" package="com.ncfacebookloginapp">
    <uses-permission android:name="android.permission.INTERNET"/>
    <application android:name=".MainApplication" android:label="@string/app_name" android:icon="@mipmap/ic_launcher" android:roundIcon="@mipmap/ic_launcher_round" android:allowBackup="false" android:theme="@style/AppTheme">
        <activity android:name=".MainActivity" android:label="@string/app_name" android:configChanges="keyboard|keyboardHidden|orientation|screenSize|uiMode" android:launchMode="singleTask" android:windowSoftInputMode="adjustResize">
        <intent-filter>
        <action android:name="android.intent.action.MAIN"/>
        <category android:name="android.intent.category.LAUNCHER"/>
        </intent-filter>
        </activity>
        <activity android:name="com.facebook.react.devsupport.DevSettingsActivity"/>
       <meta-data android:name="com.facebook.sdk.ApplicationId"
           android:value="@string/facebook_app_id"/>

       <activity android:name="com.facebook.FacebookActivity"
           android:configChanges=
                   "keyboard|keyboardHidden|screenLayout|screenSize|orientation"
           android:label="@string/app_name" />
       <activity
           android:name="com.facebook.CustomTabActivity"
           android:exported="true">
           <intent-filter>
               <action android:name="android.intent.action.VIEW" />
               <category android:name="android.intent.category.DEFAULT" />
               <category android:name="android.intent.category.BROWSABLE" />
               <data android:scheme="@string/fb_login_protocol_scheme" />
           </intent-filter>
       </activity>
    </application>
</manifest> A boolean state variable authenticated is used to determine whether to show login button or profile data
import React from 'react';
import {
View,
Text,
Image
} from 'react-native';
import { LoginManager } from "react-native-fbsdk";
import { GraphRequest, GraphRequestManager } from 'react-native-fbsdk';
import { FacebookSocialButton } from "react-native-social-buttons";
export default class App extends React.Component {
constructor() {
super();
this.state = {
authenticated: false
}
}
_responseInfoCallback(error: ?Object, result: ?Object) {
if (error) {
console.log('Error fetching data: ' + error.toString());
} else {
this.setState({user: result, authenticated: true});
}
}
async graphRequest() {
const infoRequest = new GraphRequest(
'/me?fields=name,picture,email',
null,
(err, res) => {this._responseInfoCallback(err, res);}
);
const response = await new GraphRequestManager().addRequest(infoRequest).start();
}
async signIn() {
var result = await LoginManager.logInWithPermissions(["public_profile", "email"]);
if (result.isCancelled) {
console.log("Login cancelled");
} else {
this.graphRequest();
}
}
signInButton() {
return (
<View>
<FacebookSocialButton onPress={() => {this.signIn();}}/>
</View>
);
}
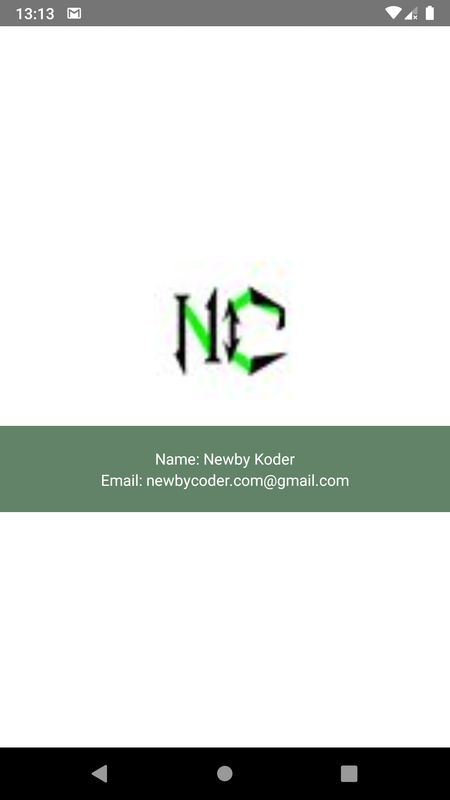
renderUser() {
const { email, picture, name } = this.state.user;
return (
<View style={{ alignItems: 'center', width:'100%'}}>
<View>
{ picture.length == 0? null:
<Image source={{uri:picture.data.url}} style={{ width:130, height:130, marginBottom:20 }}/> }
</View>
<View style={{ width:'100%', alignItems: 'center', backgroundColor:'#628367', padding:20}}>
<Text style={{color:'white'}}>Name: {name}</Text>
<Text style={{color:'white'}}>Email: {email}</Text>
</View>
</View>
);
};
render() {
return (
<View style={{ backgroundColor: 'white', flex: 1, justifyContent: 'center', alignItems: 'center' }}>
{ this.state.authenticated? this.renderUser() : this.signInButton()}
</View>
);
};
};cd into project directory (here NcFacebookLoginApp)
cd NcFacebookLoginAppRun metro server to serve js
react-native startGo to project directory in another terminal tab
Enter following run command for Android:
react-native run-android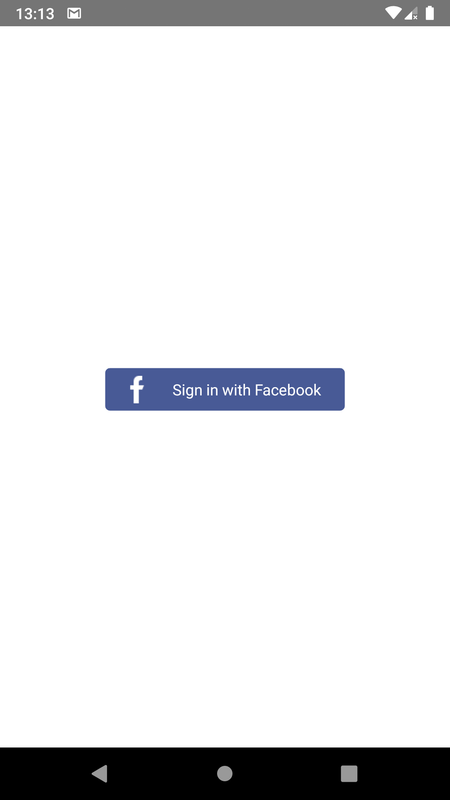
App was edited to include email in list of permissions
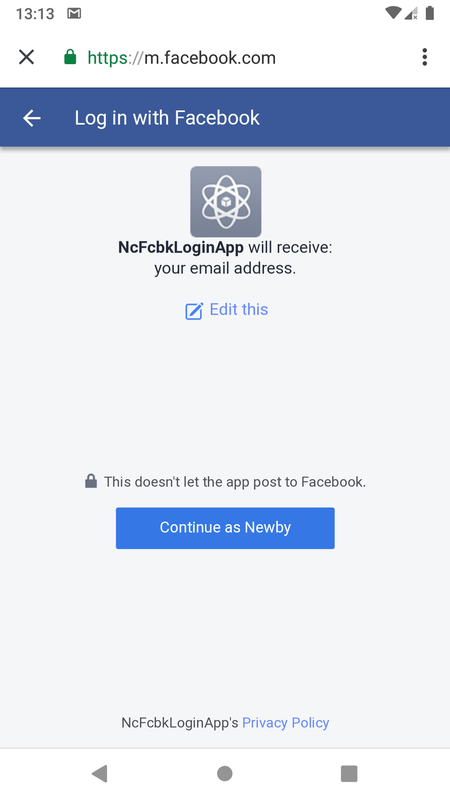
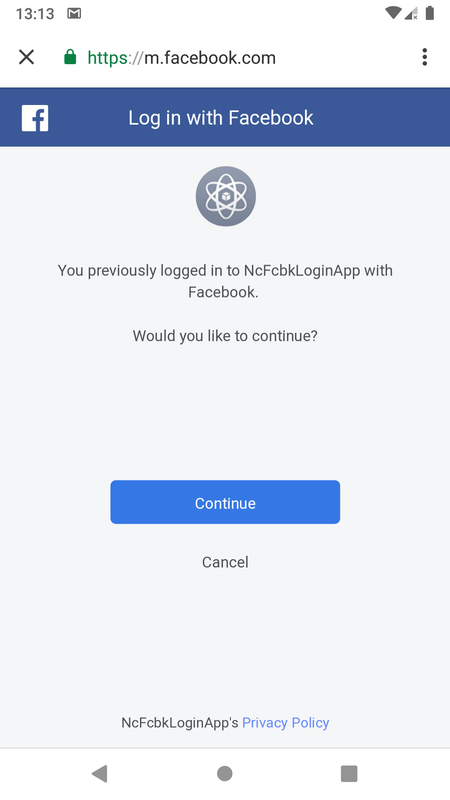
Subsequent logins