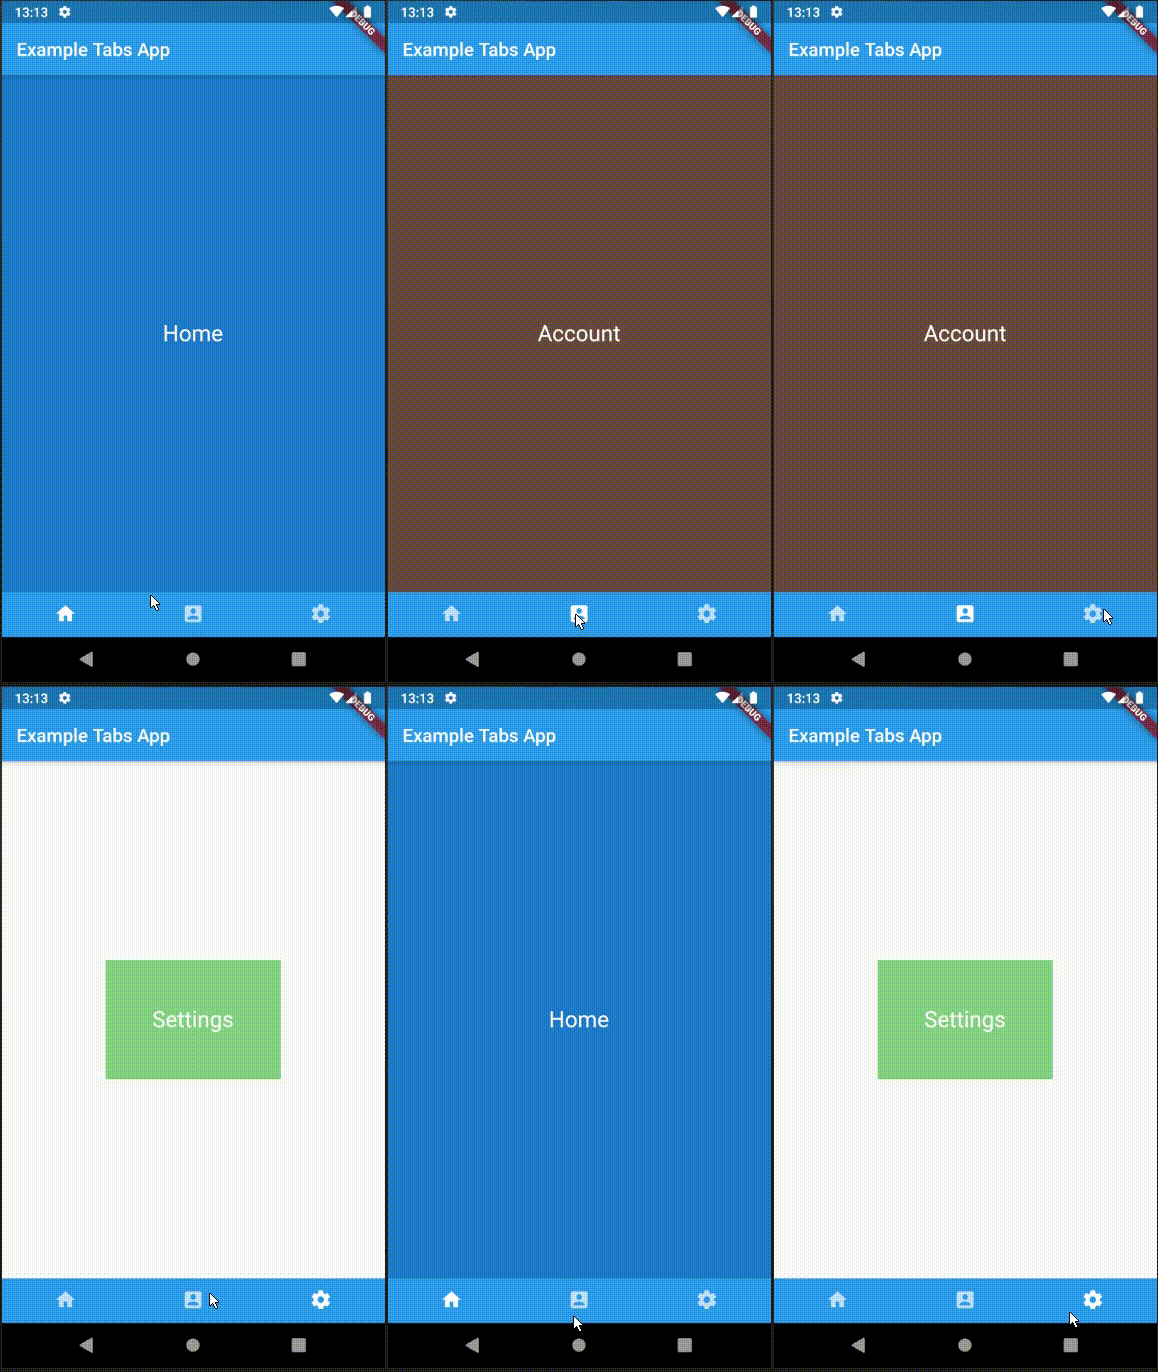
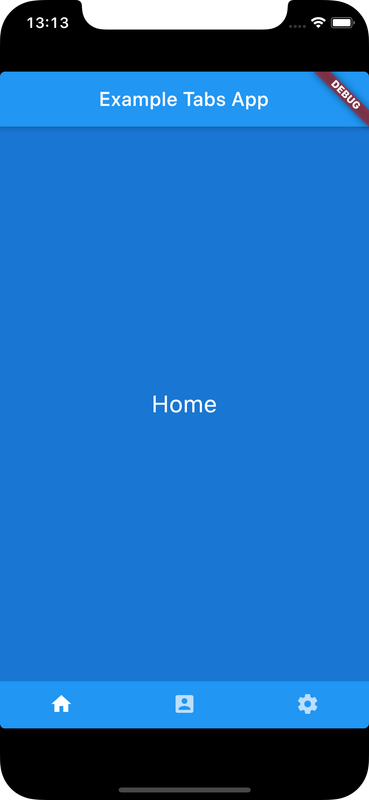
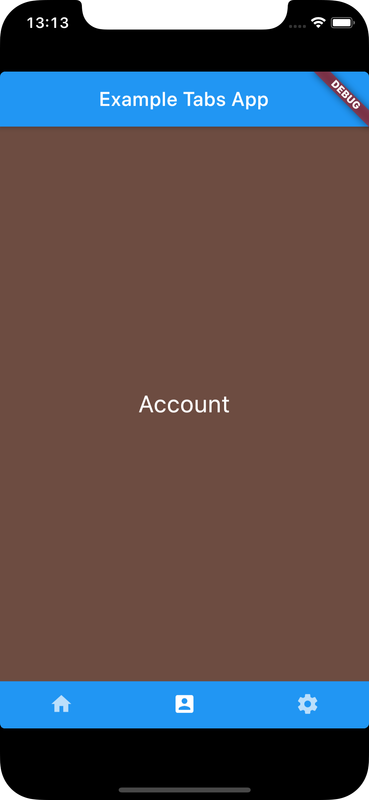
Bottom navigation, here, refers to a Tab displayed at the bottom which allows to navigate to different screens
Bottom navigation bar can be implemented by using bottomNavigationBar property of a Scaffold to contain a TabBar of a TabController
Check Flutter installation to setup Flutter
Use flutter create command to create a Flutter project (here bottom_nav_app):
flutter create bottom_nav_app Add bmnav package to pubspec.yaml
dependencies:
    bmnav: "^0.3.4"
    flutter:
        sdk: flutter
Run following command to add dependency
flutter pub get DefaultTabController creates a default TabController for its descendant(child) Widgets
Use bottomNavigationBar property of a scaffold to hold a TabBar inside a Container
DefaultTabController(
    length: 3,
    child: Scaffold(
      appBar: AppBar(title: Text('Example Tabs App')),
      body: TabBarView(
        children: [
          HomeScreen(),
          AccountScreen(),
          SettingsScreen(),
        ],
      ),
      bottomNavigationBar : Container(
        color: Colors.blue[500],
        child:TabBar(
          tabs: [
            Tab(icon: Icon(Icons.home)),
            Tab(icon: Icon(Icons.account_box)),
            Tab(icon: Icon(Icons.settings)),
          ],
        ),
      ),
    ),
)
Since TabBar and TabBarView do not set TabController explicitly, they share what is created by DefaultTabController
Order of TabBarView children corresponds to that of TabBar tabs
import 'package:flutter/material.dart';

void main() {
  runApp(BottomNavigationApp());
}

class BottomNavigationApp extends StatelessWidget {

  @override
  Widget build(BuildContext context) {
    return MaterialApp(
      home: DefaultTabController(
        length: 3,
        child: Scaffold(
          appBar: AppBar(
            title: Text('Example Tabs App'),
          ),
          body: TabBarView(
            children: [
              HomeScreen(),
              AccountScreen(),
              SettingsScreen(),
            ],
          ),
          bottomNavigationBar : Container(
            color: Colors.blue[500],
            child:TabBar(
              tabs: [
                Tab(icon: Icon(Icons.home)),
                Tab(icon: Icon(Icons.account_box)),
                Tab(icon: Icon(Icons.settings)),
              ],
            ),
          ),
        ),
      ),
    );
  }
}

// Home Screen
class HomeScreen extends StatefulWidget {
  HomeScreen();

  @override
 HomeScreenState createState() => HomeScreenState();
}

class HomeScreenState extends State<HomeScreen> {

    @override
    Widget build(BuildContext ctx) {
      return Container(
        color: Colors.blue[700],
        child: Center(
          child: Container(
            padding: EdgeInsets.all(50.0),
            child: Text('Home', style: TextStyle(color: Colors.white, fontSize: 24.0)),
          ),
        ),
      );
    }
  }

// Account Screen
class AccountScreen extends StatefulWidget {
  AccountScreen();
  @override
 AccountScreenState createState() => AccountScreenState();
}

class AccountScreenState extends State<AccountScreen> {

  @override
  Widget build(BuildContext ctx) {
    return Container(
      color: Colors.brown[600],
      child: Center(
        child: Container(
          padding: EdgeInsets.all(50.0),
          child: Text('Account', style: TextStyle(color: Colors.white, fontSize: 24.0)),
        ),
      ),
    );
  }
}

// Settings Screen
class SettingsScreen extends StatefulWidget {
  SettingsScreen();

  @override
 SettingsScreenState createState() => SettingsScreenState();
}

class SettingsScreenState extends State<SettingsScreen> {

  @override
  Widget build(BuildContext ctx) {
    return Center(
      child: Container(
        color: Colors.green[300],
        padding: EdgeInsets.all(50.0),
        child: Text('Settings', style: TextStyle(color: Colors.white, fontSize: 24.0)),
      ),
    );
  }
}Ensure a supported device is connected or emulator/simulator is started
Go to project directory
Use flutter run command to run
flutter runIt builds and runs app on an available android/ios device


