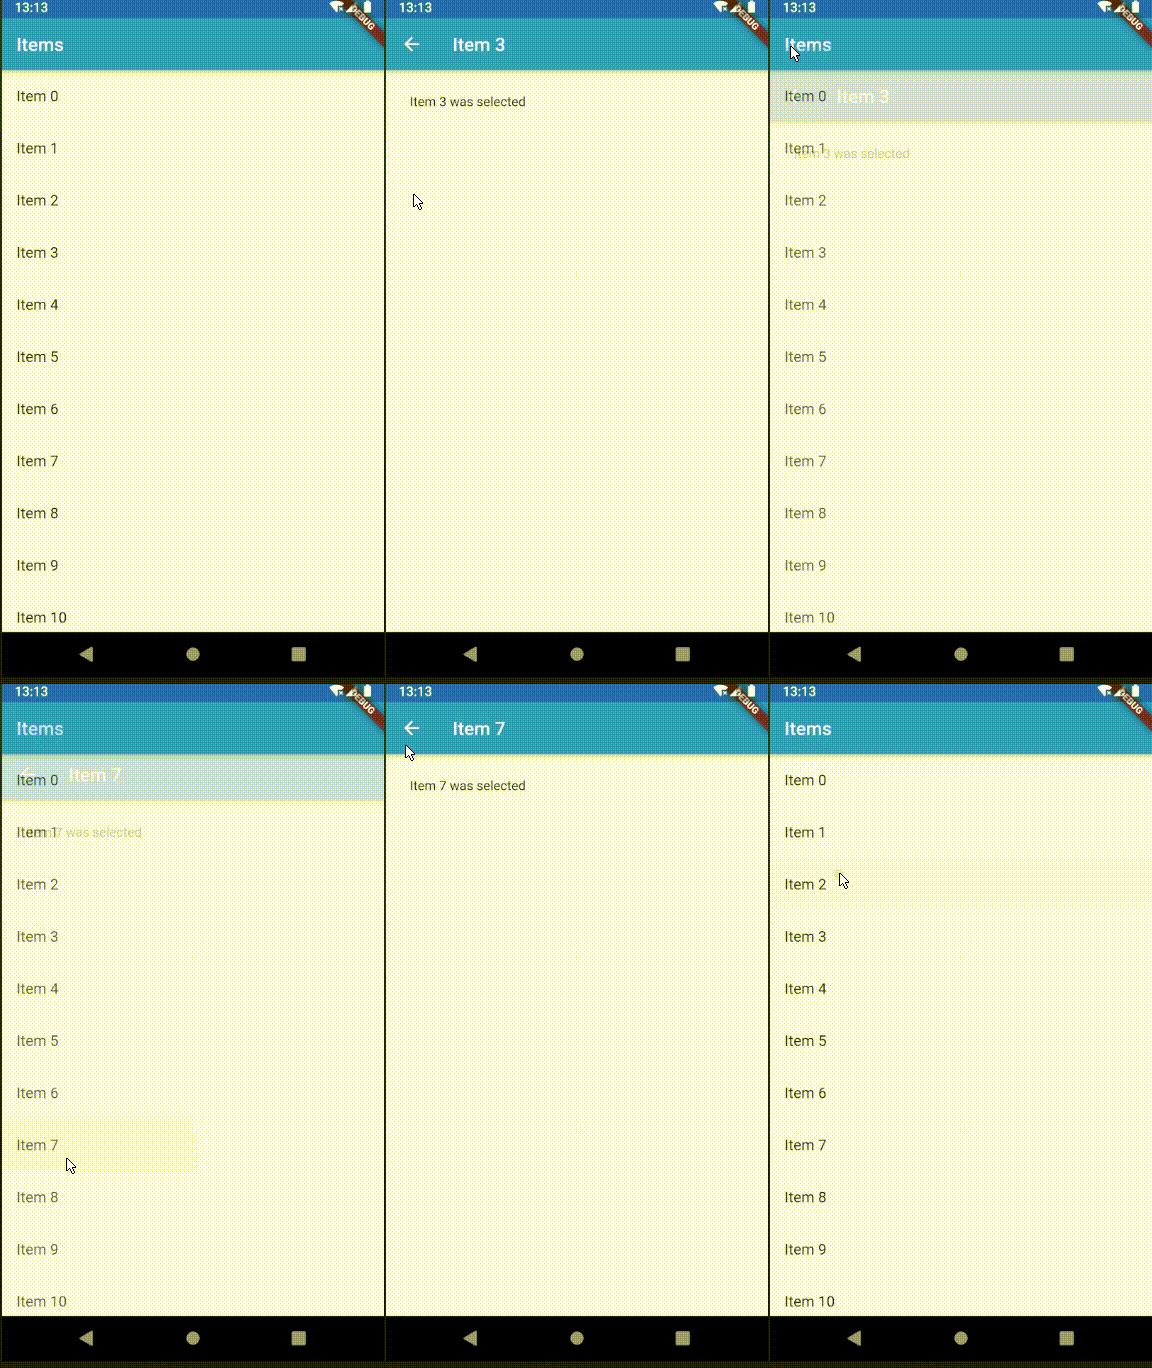
Navigating to a new screen might also include data transfer to the new screen
For example, to pass information about the item tapped on
To transfer data to another screen, required data can be a parameter of the new screen's constructor
Check Flutter installation to setup Flutter
Use flutter create command to create a Flutter project (here screen_data_transfer_app :
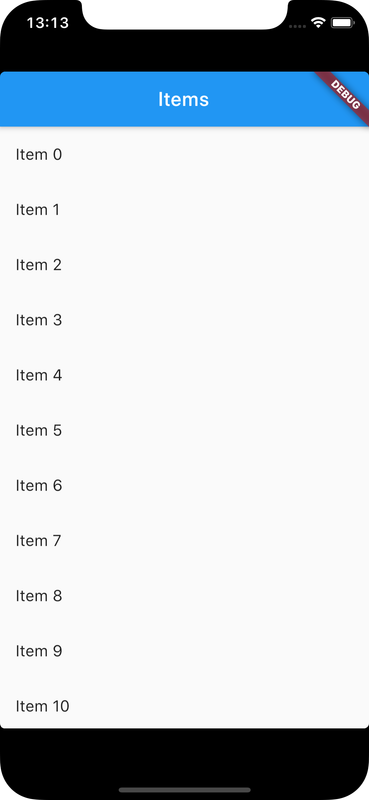
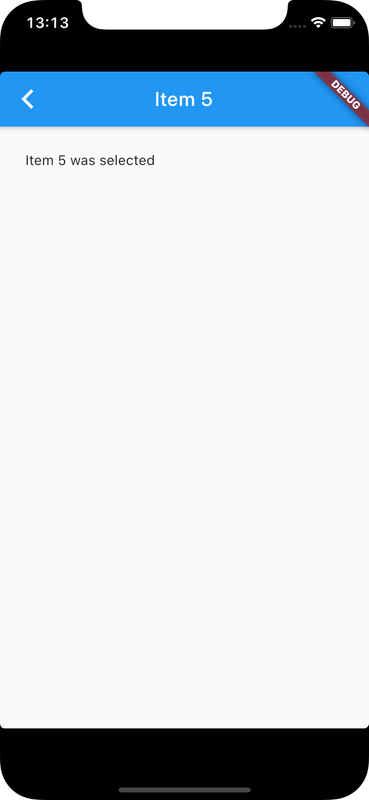
flutter create screen_data_transfer_appExample is provided to create a List of items such that when an item is tapped, app is navigated to a new screen that displays information about the item
Create an ItemScreen widget that can display information about an item, which is set using constructor :
class ItemScreen extends StatelessWidget {
  // Declare a field that holds an Item
  final Item item;
  // Add item as required parameter in constructor
  ItemScreen({Key key, @required this.item}) : super(key: key);

  @override
  Widget build(BuildContext context) {
    // Use item to create UI
    return Scaffold(
      appBar: AppBar(
        title: Text("${item.title}"),
      ),
      body: Padding(
        padding: EdgeInsets.all(26.0),
        child: Text('${item.description}'),
      ),
    );
  }
}
Declare ListView where every ListTile specifies an item
Navigate to ItemScreen on onTap() callback method of ListTile Widget
When initialising ItemScreen, pass required data in its constructor
ListView.builder(
  itemCount: items.length,
  itemBuilder: (context, index) {
    return ListTile(
      title: Text(items[index].title),
      // When an item of ListTile is tapped, navigate to its ItemScreen
      // by passing the item as parameter while initialising ItemScreen
      onTap: () {
        Navigator.push(
          context,
          MaterialPageRoute(
            builder: (context) => ItemScreen(item: items[index]),
          ),
        );
      },
    );
  },
);
import 'package:flutter/foundation.dart';
import 'package:flutter/material.dart';

class Item {
  final String title;
  final String description;
  Item(this.title, this.description);
}

void main() {
  runApp(MaterialApp(
    title: 'Screen Data Transfer App',
    home: ItemListScreen(
      items: List.generate(
        20,
        (i) => Item('Item $i', 'Item $i was selected', ),
      ),
    ),
  ));
}

class ItemListScreen extends StatelessWidget {
  final List<Item> items;
  ItemListScreen({Key key, @required this.items}) : super(key: key);
  @override
  Widget build(BuildContext context) {
    return Scaffold(
      appBar: AppBar(
        title: Text('Items'),
      ),
      body: ListView.builder(
        itemCount: items.length,
        itemBuilder: (context, index) {
          return ListTile(
            title: Text(items[index].title),
            // When an item of ListTile is tapped, navigate to its ItemScreen
            // by passing the item as parameter while initialising ItemScreen
            onTap: () {
              Navigator.push(
                context,
                MaterialPageRoute(
                  builder: (context) => ItemScreen(item: items[index]),
                ),
              );
            },
          );
        },
      ),
    );
  }
}

class ItemScreen extends StatelessWidget {
  // Declare a field that holds an Item
  final Item item;
  // Add item as required parameter in constructor
  ItemScreen({Key key, @required this.item}) : super(key: key);

  @override
  Widget build(BuildContext context) {
    // Use item to create UI
    return Scaffold(
      appBar: AppBar(
        title: Text("${item.title}"),
      ),
      body: Padding(
        padding: EdgeInsets.all(26.0),
        child: Text('${item.description}'),
      ),
    );
  }
}Ensure a supported device is connected or emulator/simulator is started
Go to project directory
Use flutter run command to run
flutter runIt builds and runs app on an available android/ios device


